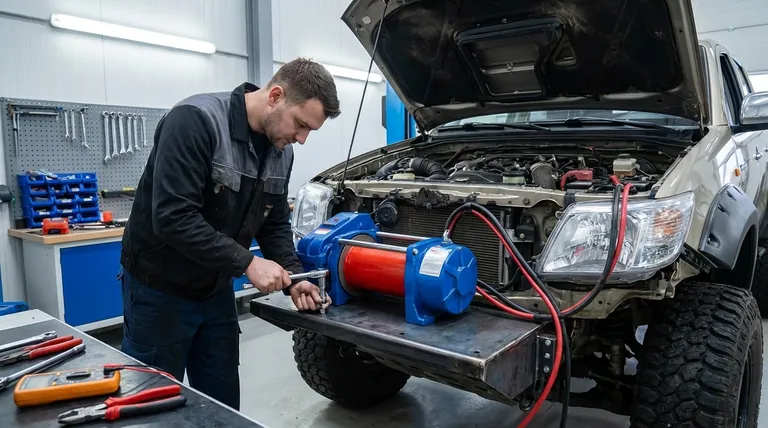
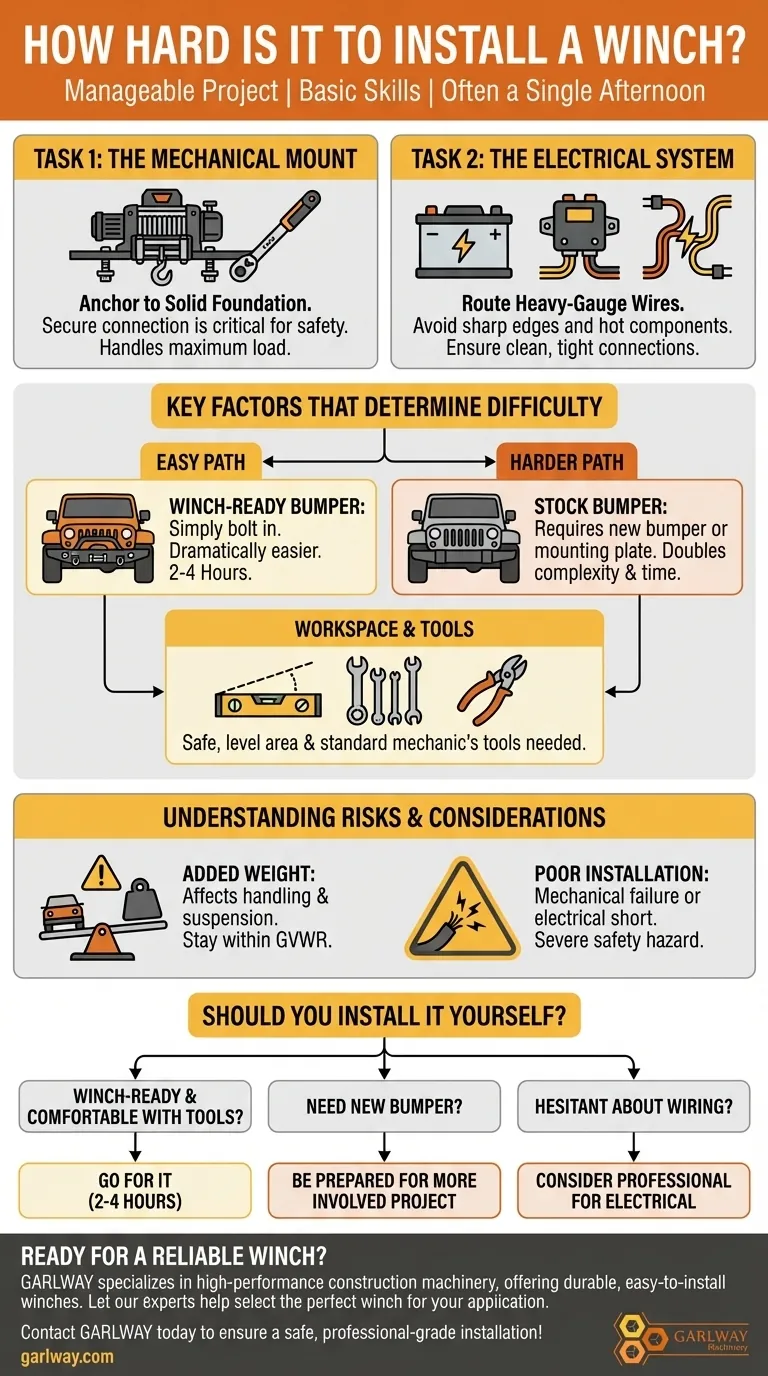
Ultimately, installing a winch is a manageable project for someone with basic mechanical skills, often completed in a single afternoon. The process involves two primary tasks: physically mounting the winch and connecting its electrical system. The true difficulty, however, depends less on the number of steps and more on your vehicle's existing setup and the quality of your winch kit.
The challenge of a winch installation is not in its complexity, but in the precision required. A secure mechanical mount and safe, correctly routed wiring are non-negotiable for both performance and safety.
The Two Core Tasks: Mechanical and Electrical
A successful winch installation boils down to getting two distinct jobs done correctly. Each has its own set of requirements and potential pitfalls.
Task 1: The Mechanical Mount
The winch must be anchored to a solid foundation. Any pulling force the winch generates is transferred directly to the point where it's mounted on your vehicle.
A loose or improper mount is a severe safety hazard. The connection to your vehicle's frame or a specialized bumper must be absolutely firm and capable of handling the winch's maximum rated load.
Task 2: The Electrical System
This part of the job involves running heavy-gauge wires from the winch to a control box (solenoid or contactor) and then to the vehicle's battery.
While not overly complex, this step requires careful work. You must route wires away from sharp edges and hot engine components to prevent damage. Ensuring clean, tight connections is critical for reliable power delivery.
Key Factors That Determine Difficulty
The time and effort required can vary significantly based on a few key variables.
Your Vehicle's Setup
This is the single biggest factor. If your truck or ATV has a "winch-ready" bumper or a pre-installed mounting plate, the job is dramatically easier. You are essentially just bolting the winch into a designated spot.
If you have a stock bumper, you will first need to install a winch-compatible bumper or a hidden mounting plate. This can easily double the project's complexity and duration.
Your Workspace and Tools
A proper installation requires a safe, level work area. The connection between the winch mount and the vehicle frame must be secure and stable, which is easier to achieve on solid ground.
You will also need a good set of mechanic's tools, including socket wrenches, wire cutters, and potentially a torque wrench to meet the specifications in the winch's instruction manual.
Understanding the Risks and Considerations
Beyond the installation itself, adding a winch has consequences for your vehicle that you must consider.
The Impact of Added Weight
A winch and its mounting plate can add significant weight to the very front of your vehicle.
This extra mass affects the vehicle's weight distribution and can impact suspension performance and handling. It's a critical consideration for staying within your vehicle's gross vehicle weight rating (GVWR).
The Risk of a Poor Installation
A winch that is not securely mounted can break free under load, creating an extremely dangerous situation.
Likewise, improper wiring can lead to a winch that fails when you need it most, or worse, cause an electrical short that could damage your vehicle's electrical system or start a fire.
Should You Install It Yourself?
Use this guide to determine if a DIY installation is the right choice for you.
- If you have a winch-ready bumper and are comfortable with basic tools: This is a very achievable project that you can likely complete in 2-4 hours.
- If your vehicle requires a new bumper or mounting plate: Be prepared for a more involved project. The winch installation itself is the same, but you have a significant mechanical job to do first.
- If you are hesitant about automotive wiring: Focus on the mechanical installation and consider hiring a professional or an experienced friend to complete the final electrical connections.
Assessing your vehicle, your tools, and your own skills honestly is the key to a safe and successful winch installation.
Summary Table:
| Factor | Impact on Difficulty |
|---|---|
| Vehicle Setup | Winch-ready bumper makes it easy; stock bumper requires a new bumper/plate. |
| Mechanical Skills | Basic skills are sufficient for mounting; precision is key for safety. |
| Electrical Comfort | Wiring is straightforward but requires care to avoid shorts and ensure reliability. |
| Workspace & Tools | A level area and standard mechanic's tools are needed for a secure installation. |
Ready to equip your vehicle with a reliable winch?
GARLWAY specializes in high-performance construction machinery, offering durable winches, concrete mixers, and batching plants designed for the demanding needs of construction companies and contractors globally. Our winches are engineered for easy installation and dependable power when you need it most.
Let our experts help you select the perfect winch for your vehicle and application. Contact GARLWAY today to discuss your project and ensure a safe, professional-grade installation!
Visual Guide
Related Products
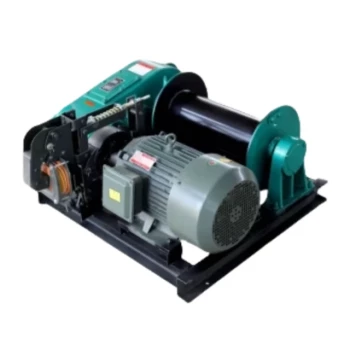
- Warn Winch Windlass Boat Trailer Winch
- Electric and Hydraulic Winch for Heavy Duty Applications
- Small Electric Winch 120V and 240V for Compact Applications
- 12000 lb Electric Boat Trailer Winch with Windlass Anchor Warn
- Quick Windlass Portable Winch for Truck and Boat Best Boat Winch
People Also Ask
- In what scenarios is a winch particularly useful for trailers? Load Heavy Items Safely & Efficiently
- What types of boat trailer winches are available? Choose the Right Winch for Your Boat
- How often should a boat trailer winch be replaced? Your Guide to Safety and Longevity
- What are the two main types of boat trailer winches? Manual vs. Electric Explained
- What are the main components of a boat trailer winch? A Guide to Safe & Efficient Boat Loading