Testing the brake system of a concrete mixer is a critical safety procedure that involves separate functional tests for both the service brake (footbrake) and the parking brake (handbrake). This process ensures the vehicle can be safely controlled during operation and secured when stationary. A complete test includes a visual inspection followed by controlled, low-speed functional checks.
The core purpose of a brake test is not just to see if the mixer stops, but to confirm the entire system's integrity. A comprehensive check combines visual inspection with functional tests to prevent catastrophic failure and ensure operator safety.
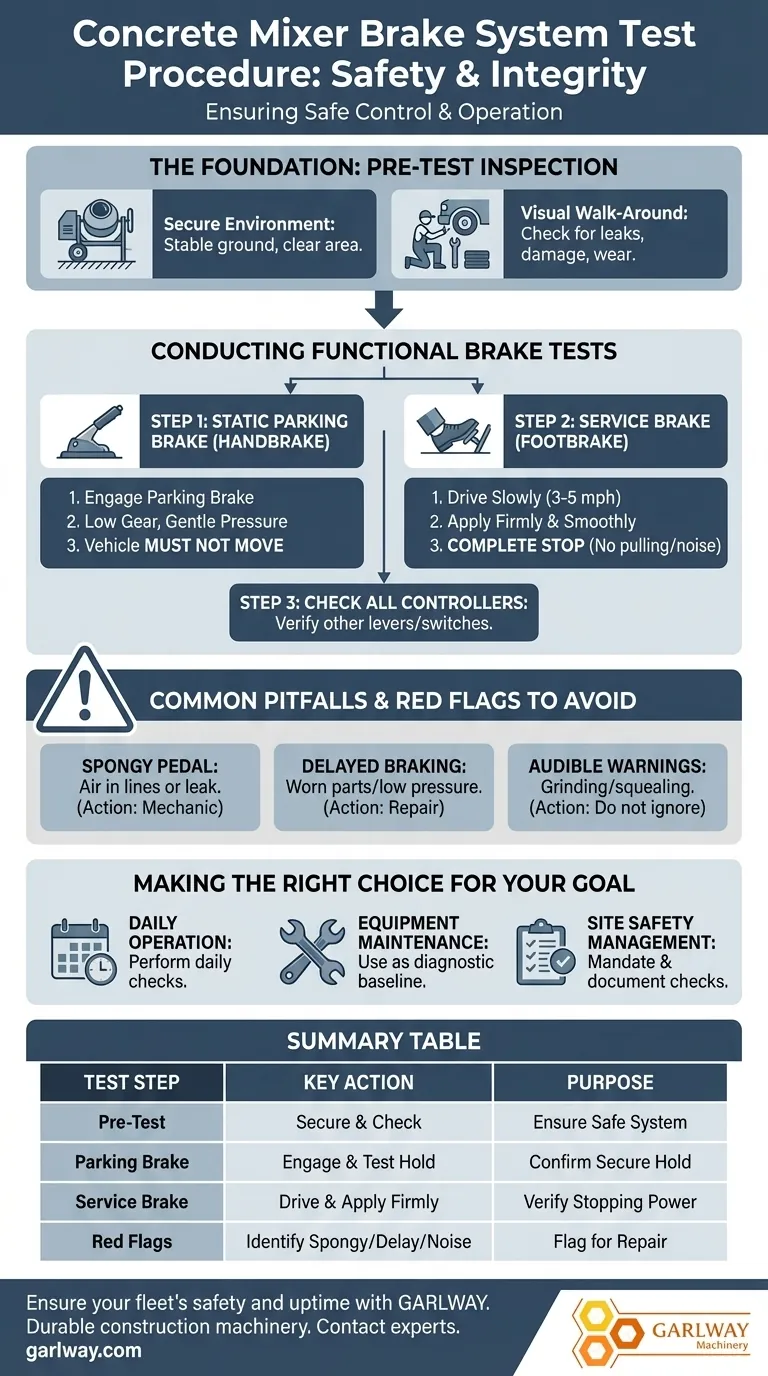
The Foundation: Pre-Test Inspection
Before performing any functional tests, a thorough pre-check is essential. This ensures you are not testing a system that is already visibly compromised.
Secure the Environment
Always begin by ensuring the mixer is on stable, level ground. The area around the vehicle must be clear of personnel and obstacles to provide a safe testing zone.
Perform a Visual Walk-Around
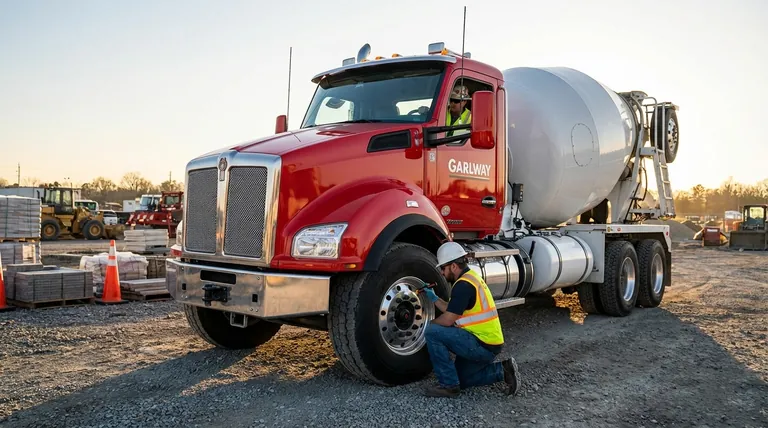
Look under the vehicle for any signs of hydraulic fluid leaks, which can indicate a compromised brake line. Check that all visible brake components, linkages, and hoses are secure and do not show obvious signs of damage or excessive wear.
Conducting the Functional Brake Tests
With the pre-check complete, you can proceed to the functional tests. This is a deliberate, step-by-step process.
Step 1: The Static Parking Brake (Handbrake) Test
With the engine running and the mixer stationary, firmly engage the parking brake.
Place the transmission in the lowest gear and apply gentle forward pressure. The vehicle should not move. This confirms the parking brake's ability to hold the machine in place.
Step 2: The Service Brake (Footbrake) Test
Disengage the parking brake and drive the mixer forward slowly, at walking speed (no more than 3-5 mph).
Apply the service brake firmly and smoothly. The vehicle should come to a complete stop without pulling sharply to one side or making unusual grinding or squealing noises. The brake pedal should feel firm, not soft or "spongy."
Step 3: Check All Operation Controllers
While performing these checks, it is good practice to verify that all other operational controls—levers, buttons, and switches—are functioning correctly. This ensures full control over the machine before it begins productive work.
Common Pitfalls and Red Flags to Avoid
Identifying warning signs is just as important as the test itself. A test that "passes" but reveals an underlying issue is still a critical safety signal.
Ignoring a "Spongy" Pedal
A soft or spongy feeling when applying the footbrake is a classic sign of air in the hydraulic lines or a potential fluid leak. This requires immediate attention from a qualified mechanic.
Overlooking Slow or Delayed Braking
The mixer should respond immediately when the brakes are applied. Any delay indicates a problem with the braking system, such as worn components or low hydraulic pressure.
Neglecting Audible Warnings
Squealing, grinding, or clicking sounds during braking are clear indicators of worn brake pads, shoes, or other mechanical components. These noises should never be ignored.
Making the Right Choice for Your Goal
The goal of any brake test is to guarantee safety. How you apply this procedure depends on your role.
- If your primary focus is daily operation: Perform the static parking brake and low-speed service brake tests every single day before the mixer is used.
- If your primary focus is equipment maintenance: Use this procedure as a baseline for more in-depth diagnostics, including checking brake fluid levels, pad thickness, and line integrity.
- If your primary focus is site safety management: Mandate and document these daily checks as a non-negotiable part of your operational safety plan.
Consistent and thorough brake system checks are the foundation of safe heavy machinery operation.
Summary Table:
| Test Step | Key Action | Purpose |
|---|---|---|
| Pre-Test Inspection | Secure area, check for leaks/damage | Ensure system is safe to test |
| Parking Brake Test | Engage handbrake, attempt to move in low gear | Confirm vehicle can be securely held |
| Service Brake Test | Drive slowly (3-5 mph), apply footbrake firmly | Verify immediate, straight stopping power |
| Red Flags | Spongy pedal, delayed braking, unusual noises | Identify issues requiring immediate repair |
Ensure your fleet's safety and uptime with GARLWAY. Proper maintenance starts with reliable equipment. GARLWAY specializes in durable construction machinery, including concrete mixers, winches, and batching plants designed for the demands of global construction companies and contractors. Contact our experts today to discuss your equipment needs and how we can support your operational safety and efficiency.
Visual Guide
Related Products
- Portable Concrete Mixer Machine Equipment for Mixing Concrete
- Construction Products Concrete Plant Machine Mixing Concrete Mixer
- Portable Electric Concrete Mixer Machine for Cement Mixing
- Concrete Cement Mixer Machine Drum Mixer for Construction
- HZS90 Large Multiquip Concrete Mixers for Construction
People Also Ask
- What are the benefits of portable concrete mixers? Achieve On-Site Mixing Flexibility & Control
- How much does a portable concrete mixer hold? A Guide to Choosing the Right Capacity
- What are the advantages of a portable concrete mixer? Boost Efficiency & Save Costs on Small Jobs
- How does the portable concrete mixer compare to larger cement mixers? Choose the Right Mixer for Your Project
- What types of portable concrete mixers exist? Find the Perfect Mixer for Your Project


