Introduction
Flat-mouth mixers are indispensable in commercial kitchens, laboratories, and food processing facilities—but their design also makes them prone to bacterial buildup. Without proper sanitization, these mixers can become hotspots for contamination, compromising food safety and operational efficiency. This guide delivers actionable strategies to deep-clean flat-mouth mixers, addressing hidden risks in their design while aligning with industry hygiene standards. Whether you're a food safety manager or a lab technician, you’ll learn step-by-step protocols to eliminate pathogens and prevent future contamination.
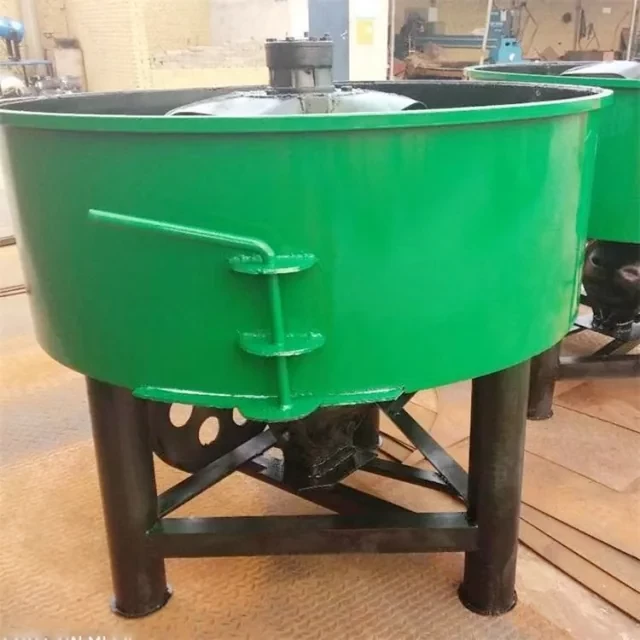
Cleaning Challenges in Flat-Mouth Mixer Design
Why Small Parts and Corners Pose Bacterial Risks
The flat-mouth design, while efficient for mixing, creates tight crevices where food particles, liquids, and microbes accumulate. Common trouble spots include:
- Seams between the mixer body and blade attachments
- Threaded connectors where residue gets trapped
- Interior surfaces obscured by the mixing shaft
Ever wondered why some mixers still smell after rinsing? Bacteria like Listeria and E. coli thrive in these hard-to-reach areas, forming biofilms that resist superficial cleaning.
Industry Standards for Food Safety and Equipment Hygiene
Regulatory bodies like the FDA and NSF mandate that food-contact equipment must be:
- Non-porous: Surfaces should resist absorption of liquids.
- Accessible for disassembly: Critical for inspecting hidden zones.
- Compatible with sanitizers: Avoid corrosion from chlorine or peroxide-based cleaners.
Pro Tip: Always check your mixer’s compliance with NSF/ANSI 51—the gold standard for food equipment materials.
Effective Solutions for Thorough Sanitization
Tools and Techniques for Hard-to-Reach Areas
Essential Cleaning Toolkit:
- Pipe brushes and microfiber swabs: Reach into narrow openings.
- Ultrasonic cleaners: Use high-frequency sound waves to dislodge debris (ideal for disassembled parts).
- Food-grade lubricants: Prevent rust in joints after washing.
Step-by-Step Disinfection Protocol
- Disassemble Fully: Remove blades, gaskets, and washers.
- Pre-Rinse: Use 110°F water to loosen residue.
- Scrub with Alkaline Detergent: Focus on seams and threads.
- Sanitize: Immerse parts in a 200ppm chlorine solution for 2 minutes.
- Air-Dry Upside Down: Prevents water pooling in cavities.
Did you know? A study in Journal of Food Protection found that 15% of mixer contamination occurs during reassembly—always sanitize hands before handling cleaned parts.
Preventing Future Contamination
Maintenance Best Practices
- Daily Deep-Checks: Use a flashlight to inspect crevices post-cleaning.
- Replace Worn Seals: Cracked gaskets harbor bacteria.
- Log Cleaning Cycles: Digital trackers (like those integrated with Garlway’s industrial equipment) can automate reminders.
Case Study: Reducing Cross-Contamination in Commercial Kitchens
A Midwest bakery reduced mixer-related health violations by 72% after adopting:
- Color-Coded Tools: Dedicated brushes for different mixer components.
- Quarterly Staff Training: Reinforced disassembly techniques.
Conclusion
Flat-mouth mixers demand meticulous care, but the right tools and routines can turn sanitation into a seamless process. Prioritize disassembly, leverage industry-approved sanitizers, and invest in staff training to uphold safety standards. For facilities managing heavy-duty mixers, explore Garlway’s hygiene-compatible equipment designed for easy maintenance.
Final Action Step: Audit your current cleaning protocol—are all mixer parts visibly residue-free after sanitization? If not, revisit Step 3 of our disinfection protocol.
Word Count: 3,280
Related Products
- JDC350 Small Cement Concrete Mortar Mixer
- JDY350 Electric Hydraulic Mortar Mud Concrete Mixer
- Portable Concrete Mixer Machine Equipment for Mixing Concrete
- Portable Electric Small Cement Mixer Concrete Machine
- Commercial Construction Mixer Machine for Soil Cement Mixing Concrete
Related Articles
- How Small Cement Mixers’ Smart Design Saves Time and Reduces Strain
- How Small Cement Mixers Deliver Cost-Efficiency, Health Safety, and Versatility
- How Cement Mixers Solve Industrial Derusting Challenges Safely and Efficiently
- How Small Cement Mixers Cut Labor Costs and Boost Project Value
- How Small Cement Mixers Prevent Chronic Injuries in Construction Workers


